Here we go, the ULTIMATE blog start up guide! Here you will find everything you need on how to start up your own blog or webpage for that matter, in easy step by step format. I will even include links to some of my favorite tools. So let’s get started!
HOW TO START A BLOG
GETTING STARTED
So starting a blog has been on your mind but you don’t know where to start. Like starting any other project in your life, planning is usually step 1. You need to know what kind of topics you will be covering, your target audience, your post frequency and so on.
It does not seem too important now, but it is a crucial step before even picking your blog name. Whether you are starting a blog to share your family recipes, or starting a full on business, you need to start with a plan.
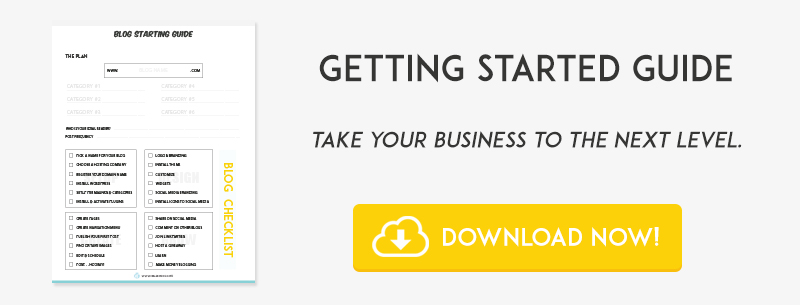
I have created a Getting Started Guide to help you jot all the things down that need to be in order before you begin. Get your free guide below.
Let’s start with an outline of what is going to be covered in this guide.
- Find your topic or niche
- Register your domain name
- Purchase a web hosting co.
- Install WordPress in your c-panel
- Choose a free or paid theme for your new WordPress blog
FIND YOUR TOPIC OR NICHE
No matter the reason why you decided to start a blog, it is very important that you narrow down your blog focus. What is your blog going to be about?
If you are blogging to make some kind of profit , you need to target the audience you are looking to make money from. For example, If you are selling digital invitations on Etsy, your topics could include things related to parties, birthdays, hosting, decorations, and so on. Someone who is looking for Invitations is probably also looking for party decor. You want to figure out where your audience is.
The best way to narrow down your Niche is to brainstorm around your main product or idea.
PICK A NAME ( URL )
If you are following along on the free guide, you will see that after forming a plan this is the first and foremost important step. Unless you already have something in mind, this step will probably be the most time consuming. Here are a few tips on picking an effective blog name:
- Short – Your name should be easy to pronounce and spell. You do not want to make it difficult for the visitor to remember.
- Memorable – You should think about creating a blog name that’s hard to forget & catchy.
- .COM – Although you have the option of purchasing your domain in a variety of formats. A domain ending in .com is still the most popular.
- Check Competition – Make sure you are not choosing a domain name that is similar to an already established competitor. You don’t want to spend time building your blog only to find out that someone else has a similar website.
- Social Media Availability – You know what sucks? When you have bought your brand new Url Name and you then look to open social media accounts for your blog and they are all taken! You want to make sure to use a tool like namechk which checks multiple social media accounts to make sure they are available. It’s a lifesaver!
If you are having trouble coming up with your blog name, or your options have already been taken, here are some name generator tools & ideas that might help you out.
- NAMEMESH
- WORDOID
- PANABEE
- Grab a thesaurus – Simple way to get similar ideas of your name
- Check out other blogs – Sometimes you just have to surf the net to get ideas. Remember though, you want to stand out, not be confused with another blog or compared to.
- Check out magazines & books – This is a great option for inspiration and blog titles.
PICK A CONTENT MANAGEMENT SYSTEM (CMS)
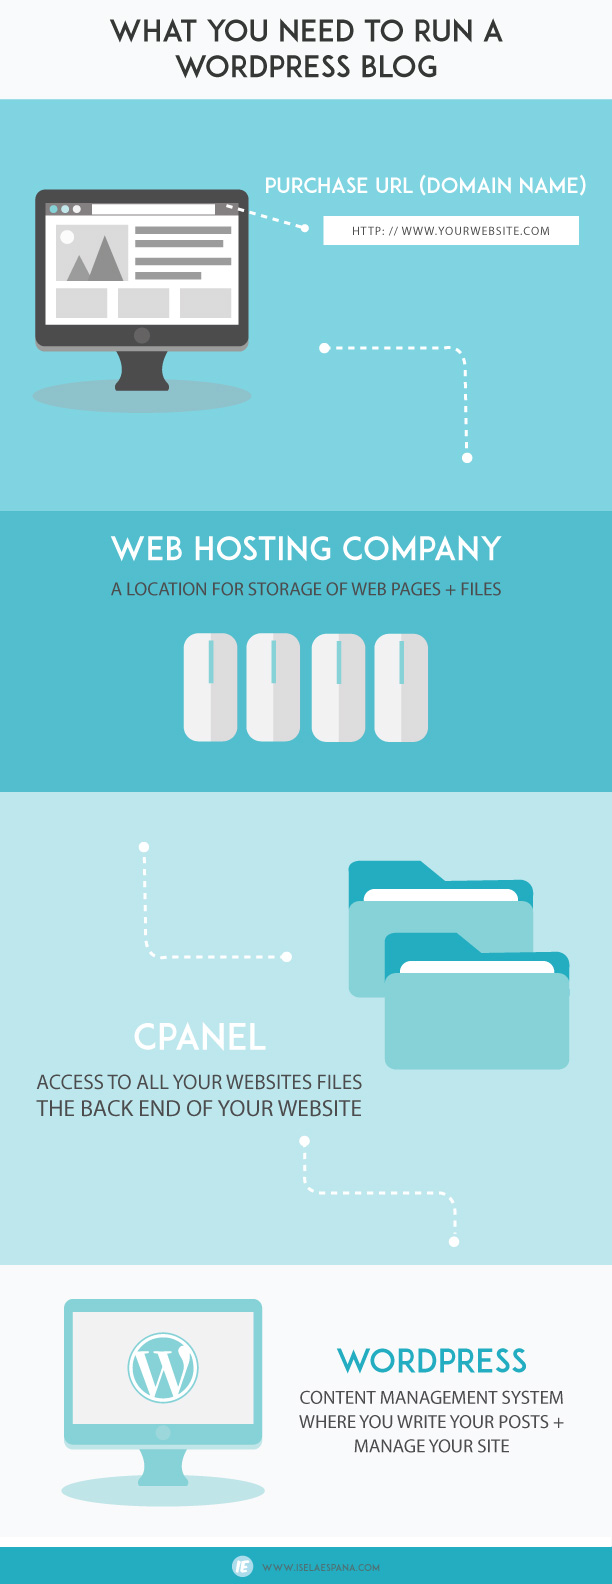
What is a CMS? CMS is known as a platform that easily helps you manage your blog. In other words, It is where you will be writing up all your posts, uploading all your images, and replying to all your blog comments. It actually does so much more than that, but the best way to understand is actually diving in. There are a few CMS options out there to pick from, however, I am in love with WordPress.
Let’s go over CMS options:
FREE CMS
With a free CMS platform, there is no cost at all. You do not need to purchase a domain name or a hosting company, they are actually included. Although Free might seem like the best bet, there is a lot of limitations when picking a free CMS. The biggest is not being able to have the URL that you are looking for. For example, my blog on wordpress.com would look like this >>
www. sweetpapertrail. wordpress. com
I would go with a free option only if you are building a blog for fun and are not looking into making any kind of income.
LOW-COST CMS
- WORDPRESS.ORG – SELF HOSTED ( BEST PICK ) This is my preferred choice. The CMS is actually free but you will need to pay for the hosting and domain name. If you are getting serious about blogging, pick this.
MID RANGE CMS
HIGH-END CMS
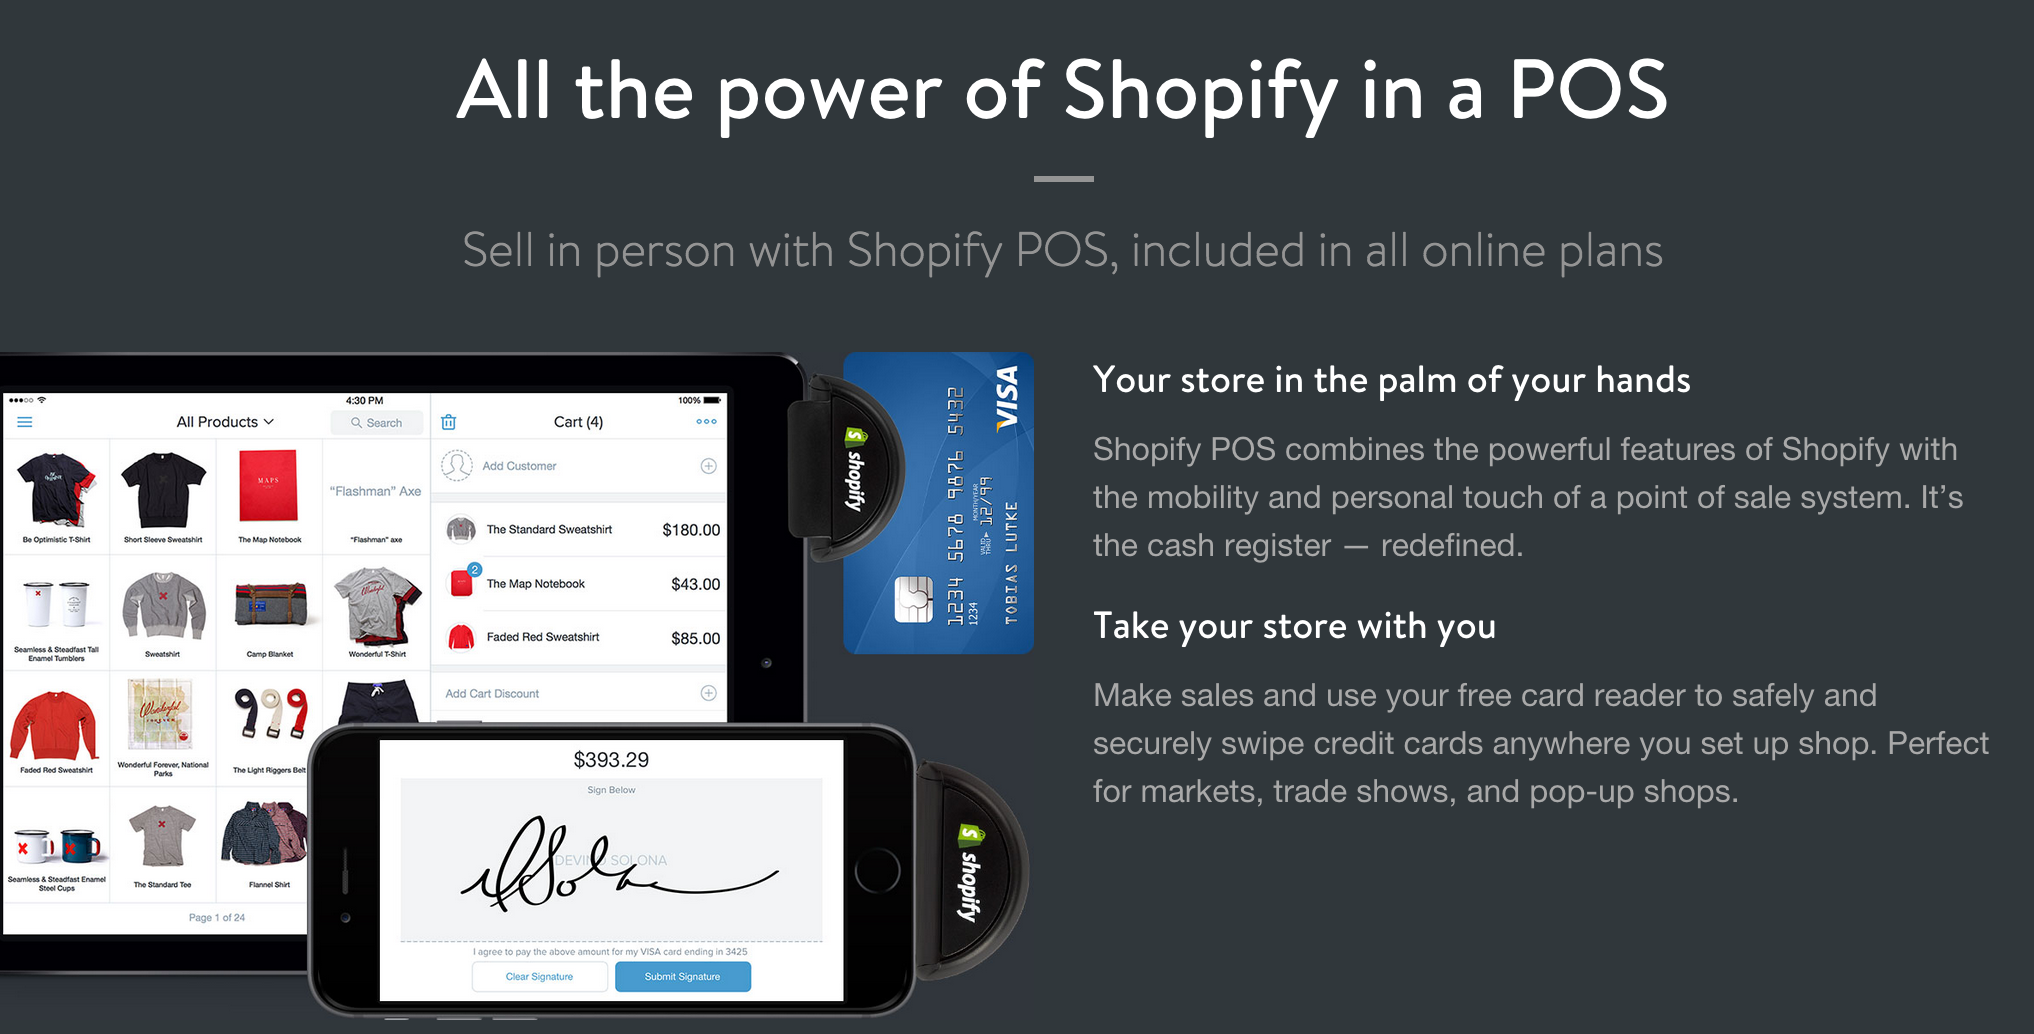
- SHOPIFY – If you are starting a full on online store, selling multiple products, this is your best choice. Here is what you can accomplish with a Shopify account:
- You can create your own online store with no experience.
- You can customize your store with no design skills.
- Accept orders and easily integrate shipping with every major carrier and provide your customers with tracking info for their orders.
- Accept payments and orders in person.
PURCHASE YOUR URL
Once you have decided the name of your website/blog, you got to make sure it is available. I check and purchase my domains from Godaddy.com but there is a variety of places where you can purchase them. The hosting company sometimes includes a free domain with your hosting price, so make sure to check your hosting company first.
CHOOSE A HOSTING COMPANY
Choosing a hosting company is detrimental.
What does a hosting company do? A hosting company is a place that stores all of your website pages & files. In my opinion, the hosting company should have great reviews, should be known, has minimal downtime, and is known for its security.
What I use : HOSTGATOR
There is a number of reasons why I choose HOSTGATOR for all my websites. Let’s take a look at a few.
- EASY – Getting started using Hostgator is easy. Hostgator has a number of tools that help you get started fast and easy.
- WORDPRESS HOSTING – As I stated above, I am in love with wordpress. Hostgator has a quick-install method to get your wordpress blog up and running in minutes.
- SUPPORT – I have used their support a million times when I first started learning everything about blogging. Not only did they help me install my WordPress blog, they explained to me what everything was. Oh, and the fact that I can use their CHAT feature in the middle of the night is priceless! I get answers to my questions within minutes.
- BUSINESS EMAIL – They offer great business email plans. I would hate for you to start your blog and have your blog related emails being sent to your personal email. I set all my clients up with an email associated with their website, for instance… info@ your website.com
- Price – I have compared many plans out there, but I just fell in love with the features I get for the prices they have to offer. They always seem to have specials going on too. Usually around $4 – $8 monthly
Next I will provide step by step instructions for setting up a WordPress Blog or Website with your own purchased URL from GoDaddy & Purchased hosting from HostGator exactly the way I set my own.
* The following instructions might look a bit intimidating at first, but I assure you it is easy!
STEP BY STEP INSTRUCTIONS >>
STEP ONE – PURCHASE DOMAIN NAME >> GODADDY
STEP TWO – PURCHASE HOSTGATOR >> WORDPRESS HOSTING COMPANY
STEP THREE – Set name servers in GoDaddy to point to HOSTGATOR as shown below. Go into your GoDaddy account. Under My Account >> Manage My Domains.

Now Select your URL Name and under settings you will find NAMESERVERS – Select Manage. Here you will input the nameservers found on your Hostgator welcome email once registered. If you do not find the nameservers in the email, you will find them on the bottom left-hand corner once logged into your C-Panel.
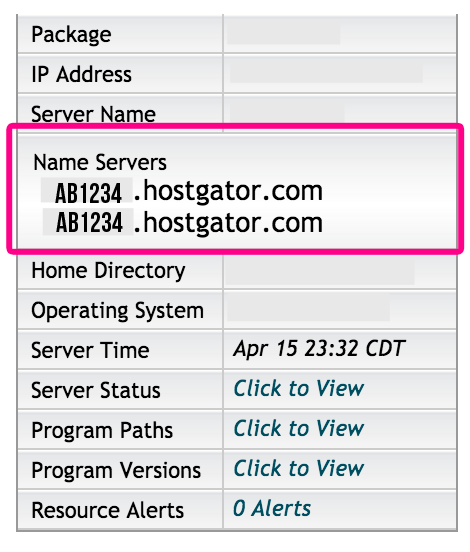
For more help on changing your nameservers, visit this Hostgator Guide
Next, you will go into Hostgator and select Addon Domains

Once you are in you will be filling out the following:

Under New Domain Name: Enter your new name here
Username: Choose whatever you like
Document Root: Leave as is
Password: Choose a password
Once you have inputted the nameservers in GoDaddy & set-up your add-on domain, you can go back to HostGator C-Panel and do the final Step. Install WordPress. Find and click on Get Started with WordPress Today
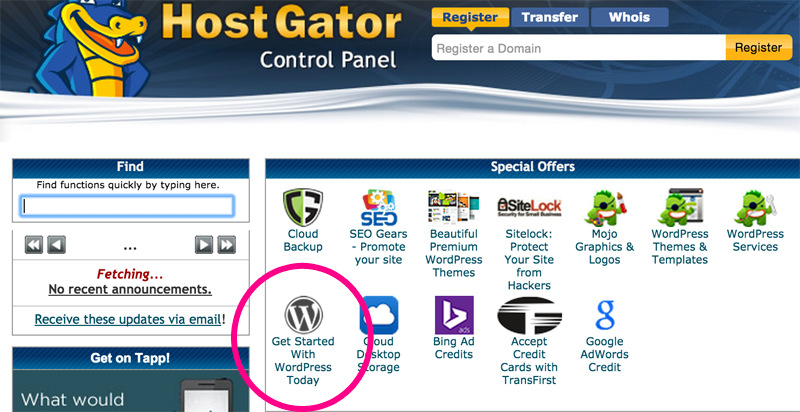
Click on the continue button.

Fill in the fields and options. The email, blog title, first & last name (can be changed later through WordPress)
Click Install Now!
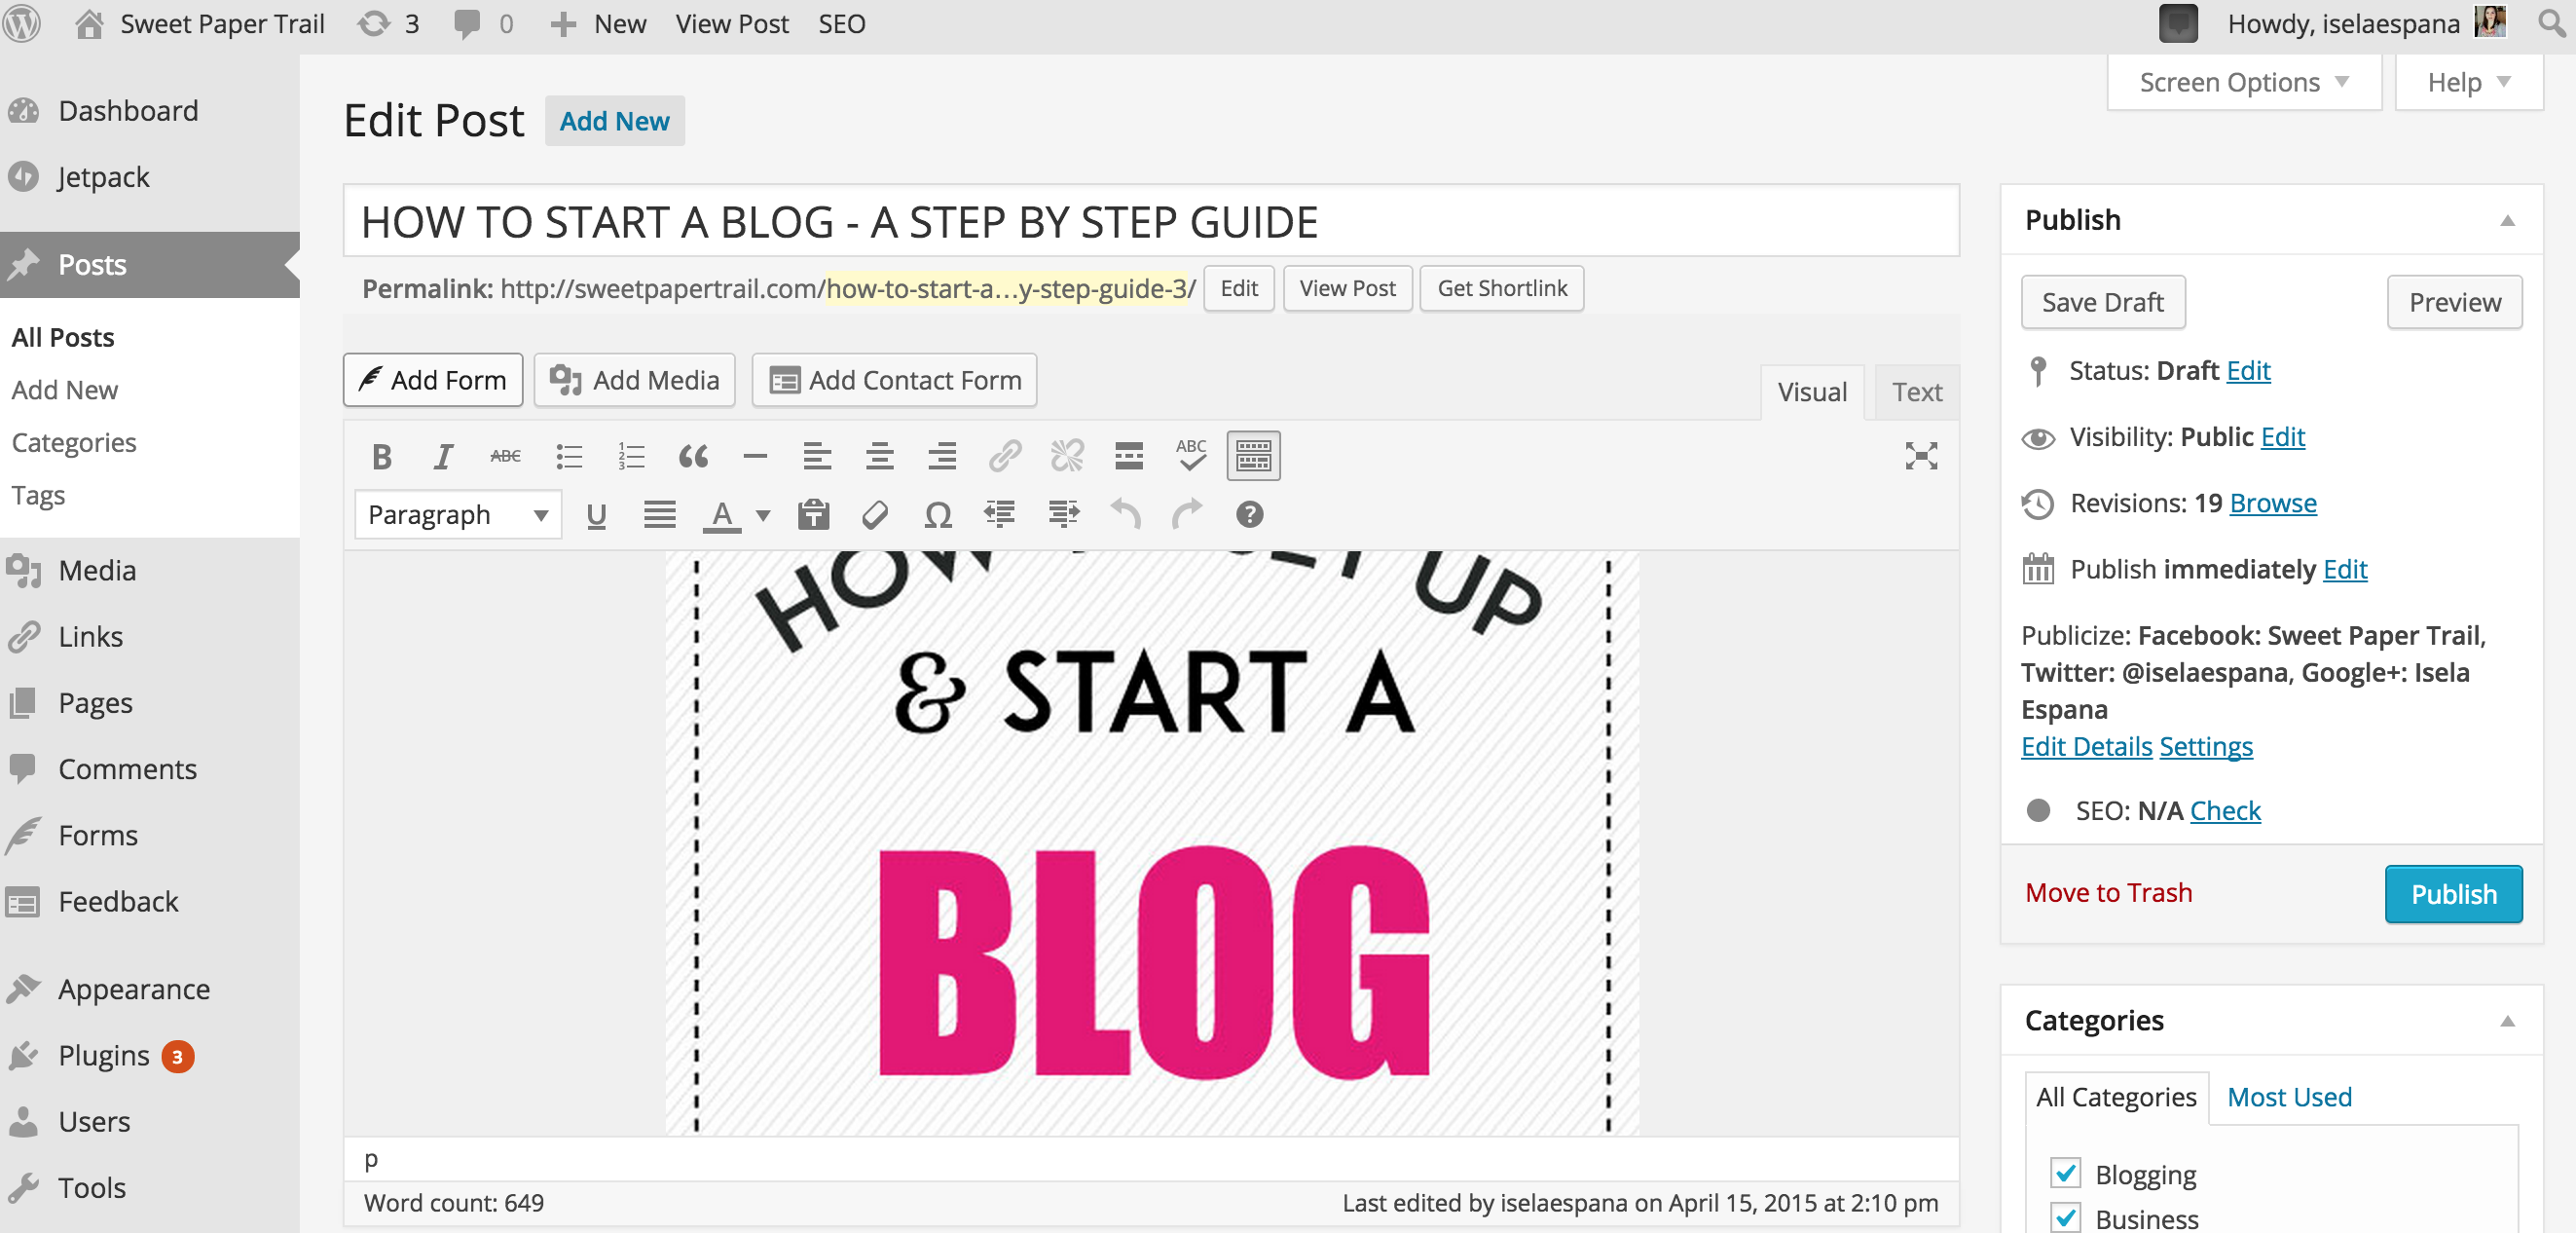
Once WordPress in finished installing, you should see a “Congratulations!” message like the one below with a link to click here. Click on that, link and it will take you to your newly installed WordPress blog!

